Song Select and Options
Table of Contents
- Options
- Lane Speed
- Offset
- Early Late adjustment
- S-Critical
- Lane preview
- System Voice
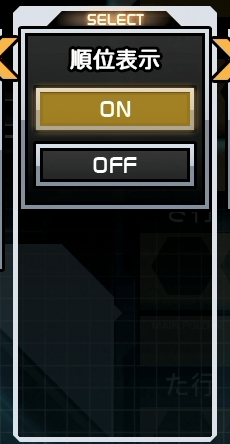
- Show SDVX Konasute/Arcade scores
- Valkyrie Effect
- Early Late Color
- Laser Colors
- Display Brightness
- Score Difference
- Normal Scoring and Ex Scoring
- Random and Mirror
- Effective/Excessive Clear
- Volume
- Challenge Options
- Target Score
- Additional things to note
Options
While on the song select screen, pressing FX-L and FX-R will bring up the
options menu. On Valkyrie cabs, you can also access it on the touch screen. This
guide will go over all the options, what they do, and recommended settings.
Lane Speed
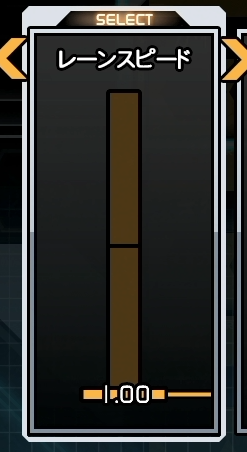
Lane Speed is how fast the notes take to reach the bottom of the screen from when they appear. This setting goes from 1-10 with two decimal places.
Lane speed is not how fast the chart is. If you play 1.00 lane speed you are playing the same chart and same speed as someone playing at 10.00 lane speed. Lane speed is just visual. For a demonstration of this, see the video below.
Even though they look different, they are playing the same chart. It isn’t a “faster” or “slower” chart.
In the beginning, you will likely start around 2-4. As your reading skill gets better you will generally start to increase this to make things easier to read.
Pressing Numpad 6 will lock your lane speed. This will make it so that every time you start the game or go to song select, your lane speed will set back to what you have it locked to.
Theory
In general,
The higher the lane speed = The fewer notes on the screen = The easier it is to read
However, you don’t want to increase it to the point where you are reacting and not reading.
Lane speed is preference. While in theory, you should push it higher, this doesn’t matter if you are unable to read high lane speeds. Some people read 9+ lane speed while others stay between 6 to 8. How fast you can read is dependent on a lot of different factors.
Offset
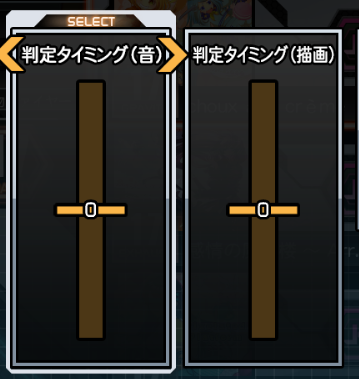
There are 2 offsets. Draw (判定タイミング(描画)) and Judge (判定タイミング(音)). Draw is visual offset and Judge is audio offset.
Draw moves the judgment line either up (+) or down (-). It doesn’t do this
visually, the judgment line will still look like it’s in the same spot but it has moved. Here is a visualization of Draw Offset
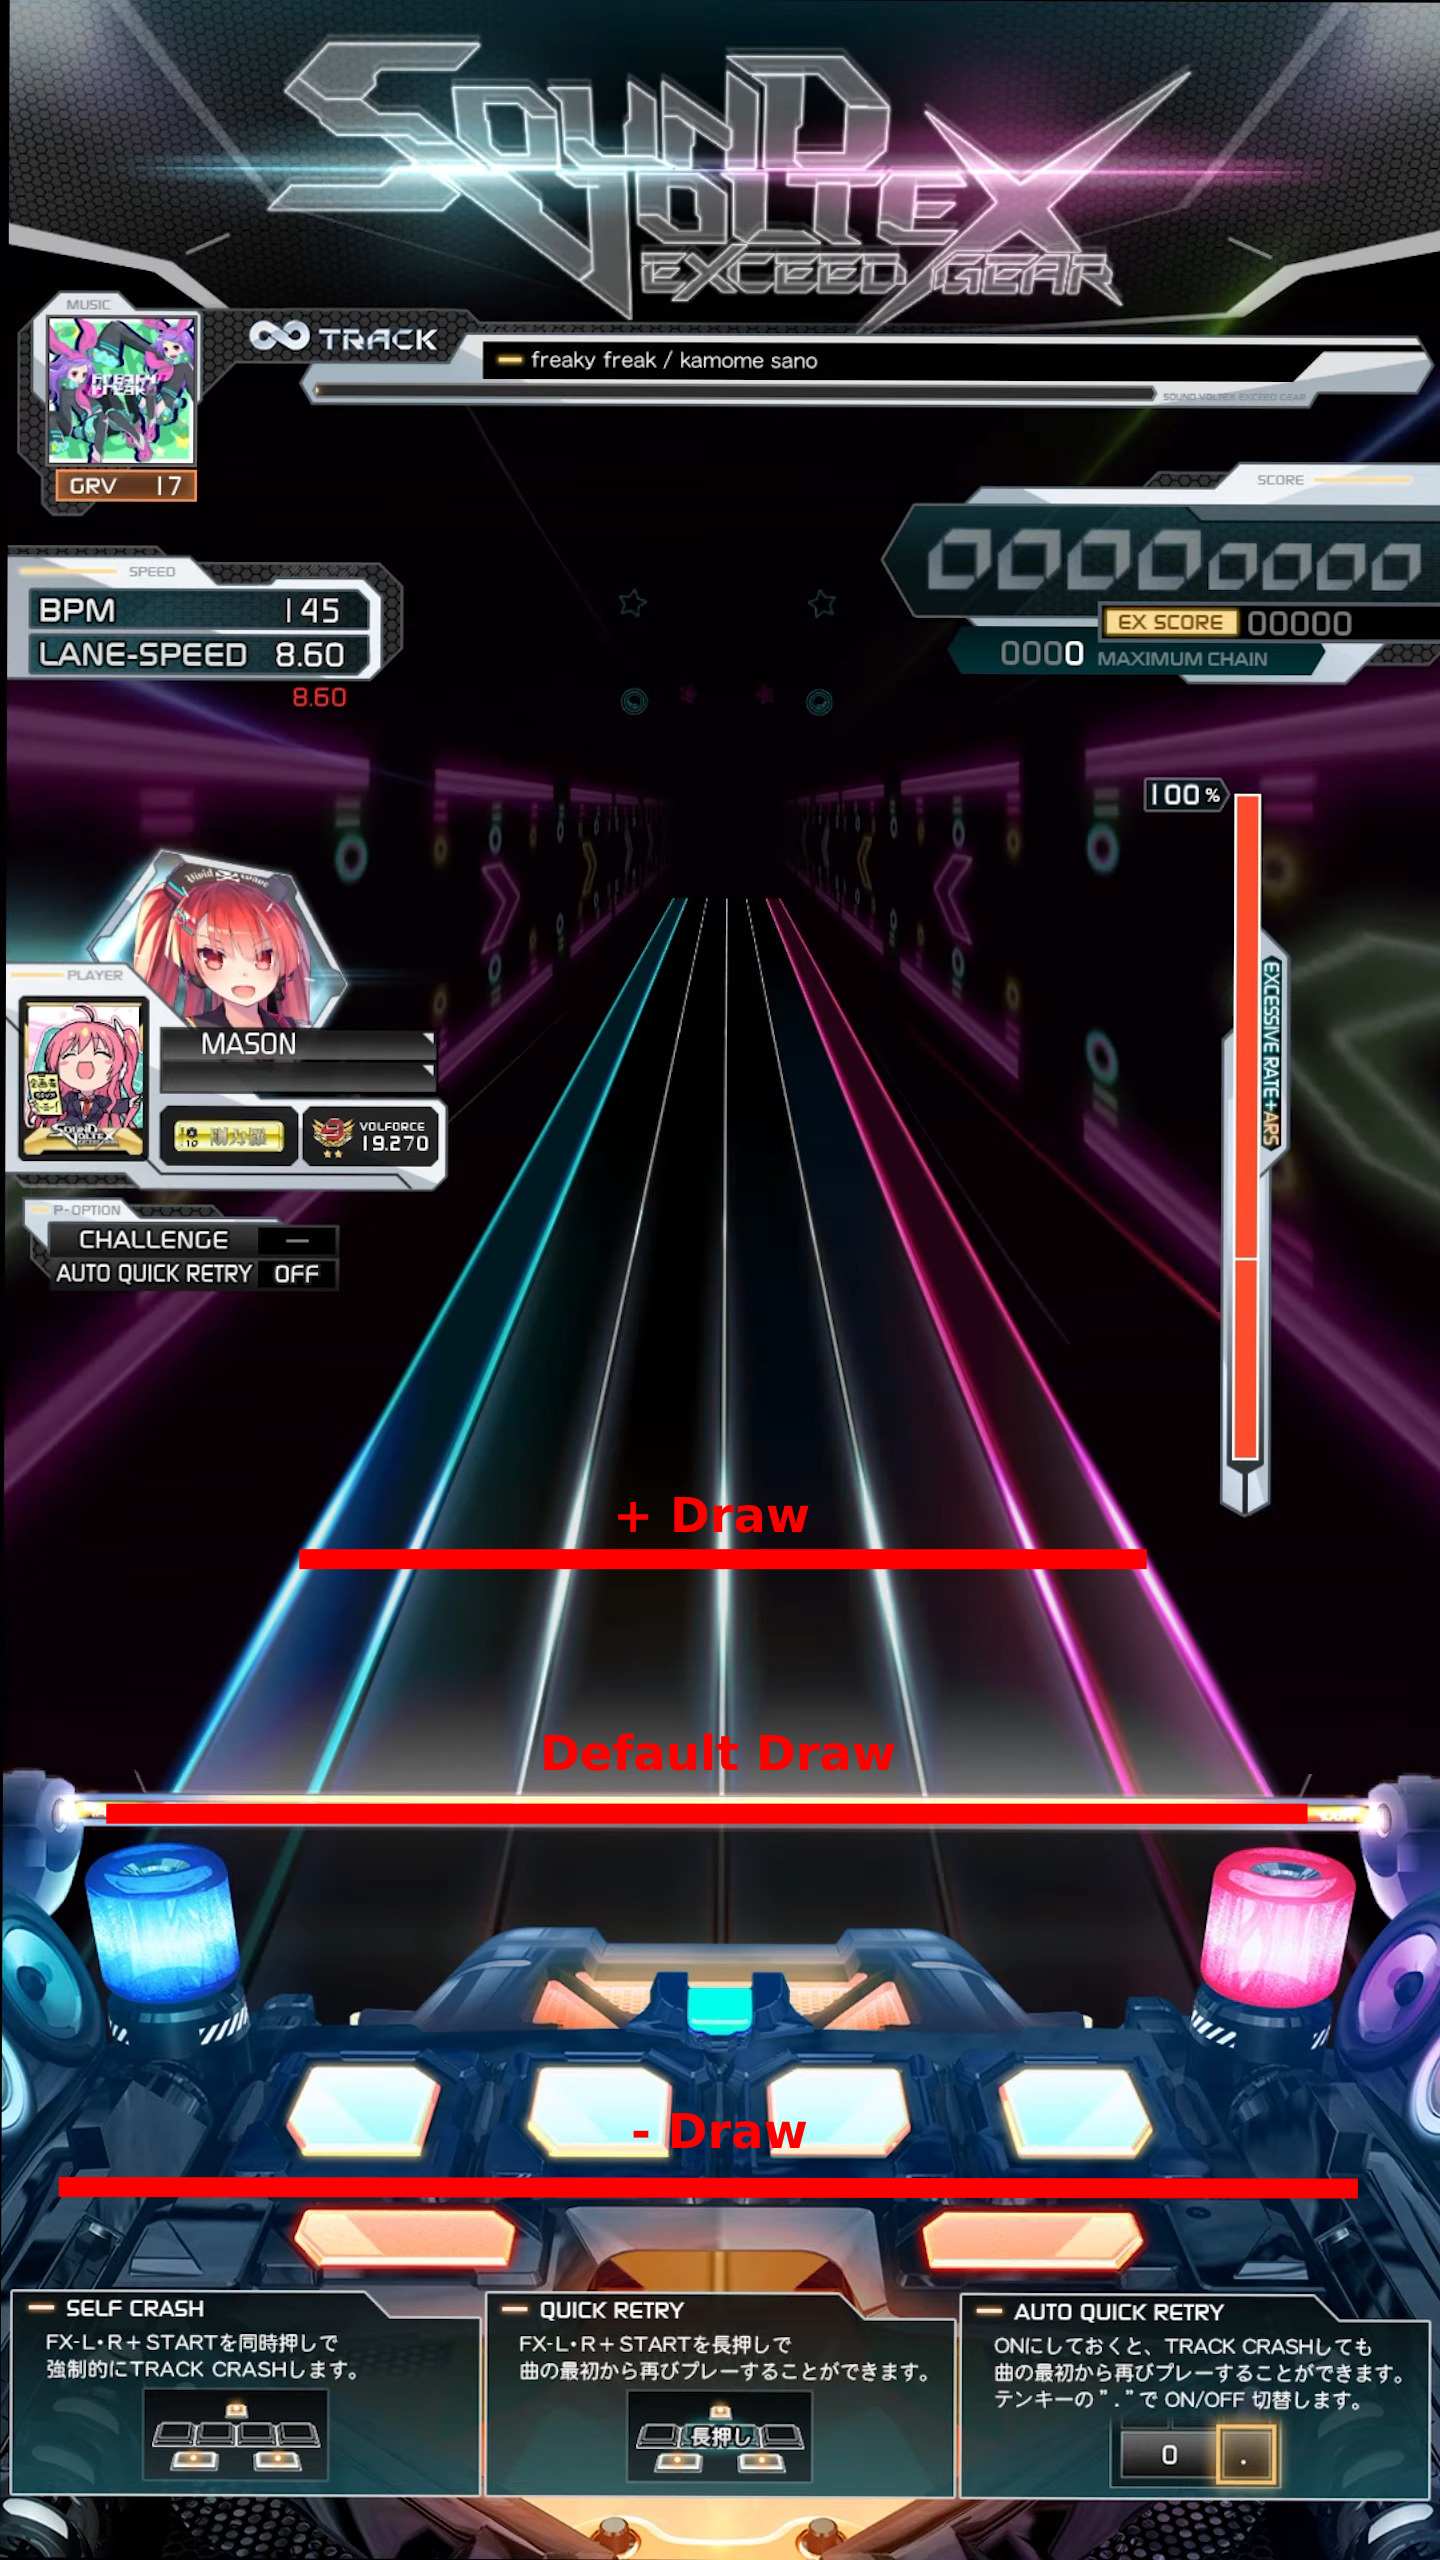
The line at the top would represent where the judgment line would be heading to
for + draw. The bottom line would represent where the judgment line would be
heading to for - draw. The line in between is the default judgment line.
Judge adds an offset to the music.
You can press the following numpad button to change the offset:
8: Judge +2: Judge -9: Draw +3: Draw -
If you are on a Valkyrie Cabinet, pressing the offset number on the touchscreen will change it to ms. Pressing 6 will also do this on Konasute.
Theory
Your offset can sometimes change day-to-day setup-to-setup chart-to-chart. Sometimes, you have to decide whether to change offset or your own internal timing.
An important thing to note is that a lot of times it isn’t your offset but rather your lane speed/reading ability. If you notice you are hitting a lot of lates or earlies, you might be playing a chart that is difficult for you to read or your lane speed is wrong.
If you are having trouble finding your offset or just want to learn more about offset here is JiminP guide. This is a very detailed guide for all your offset needs.
Early Late adjustment
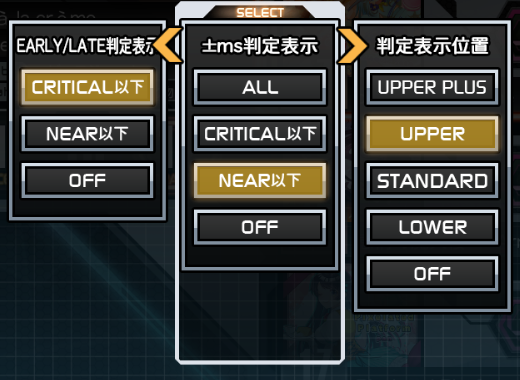
The next 3 are adjustments to the early late or ms that show up when you press something off-timing.
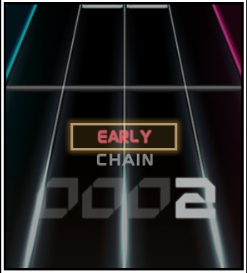
The first one adjusts when the early/late shows up. (Pictured above) Critical will make it so that every time you hit a crit or below it will show up. Near will make it so only nears and below it will show up. Off means it never shows up.
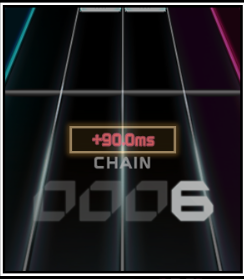
The second one adjusts when the ms shows up. (Pictured above) All will show it for everything, even S-Crit. Note that if you hit a S-Crit, it will be grey. Critical will make it so that every time you hit a Crit or below it will show up. Near will make it so only Nears and below it will show up. Off means it never shows up.
The final option adjust where they show up on the screen. Upper is most common.
In general, it is a good idea to have one of them only show up for nears and the other show up for all or just crits. That way you know if you hit a nearby if one shows up.
S-Critical

This adds an extra judgment that is stricter than Crit. This does not affect normal scoring. For information on the timing, see Timing Windows page
Note that if you are using light start this will not be accessible. This does not matter for Konasute. In general, it is recommended to always have this on if you can.
Lane preview
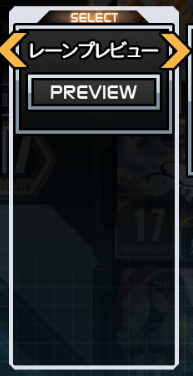
Here you can preview the changes you just made. It will play a simple chart with a simple song where you can see your lane speed, offsets, and early/late adjustments. It is recommend using this to figure out what you like.
System Voice
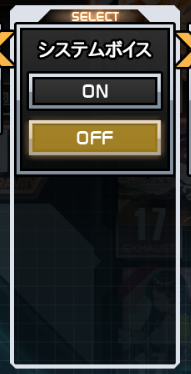
You can choose to disable or enable the voice from your navigator that plays around the menus. For example, the voice that plays when you complete a chart.
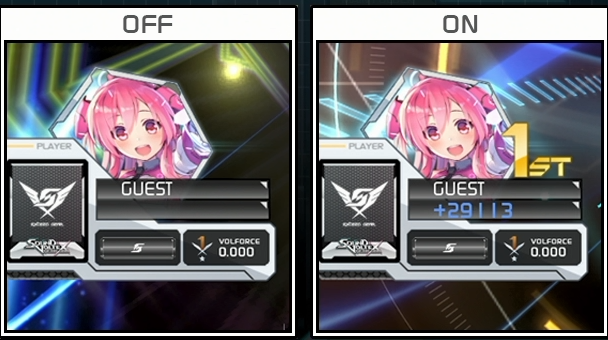
Show SDVX Konasute/Arcade scores
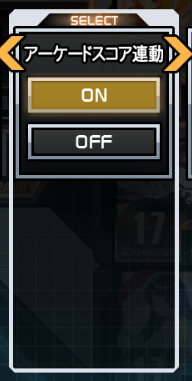
This setting changes whether or not you can see your best scores overall from Arcade and Konasute. If enabled, it will combine your Arcade and Konasute scores and show you what you have the highest of. So, if you have a score of 9,978,132 on Konasute and a 9,942,612 on Arcade, it will display the Konasute score.
Note that Volforce and the actual score are separate between the two.
You can tell which scores are from Konasute or Arcade by if this light at the the top is lit.
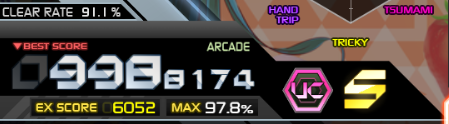
Here it shows that this score was from the arcade because the Arcade is lit up.
If you don’t have your Konasute and Arcade data linked, this option will not show up.
Valkyrie Effect
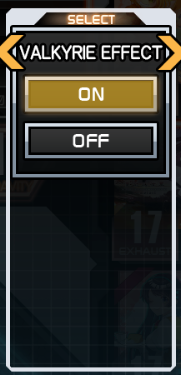
This changes how the lasers look. Enabling it adds a bit more effect to lasers. For an example, see the video below.
Inevitable Magic MXM 18Early Late Color
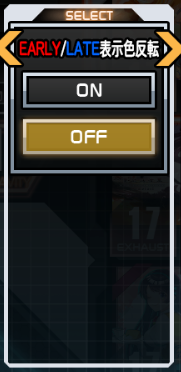
This flips the early and late colors. Normally, Late are blue and Early is pink/red. This flips them.
Laser Colors
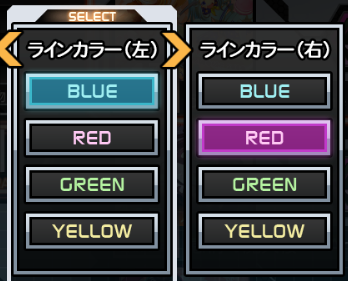
These change the laser colors. The first one is the left laser and the second one is the right laser. Most people don’t change these. Although notably Mini has his left laser (Normally blue) as green.
Display Brightness
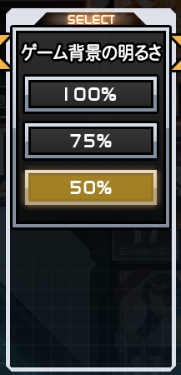
This is how bright the background is. If you want a good example, look at the Lane Speed video above. Mini plays on a brighter background compared to JiminP and DDX.
Score Difference
If you are in matching or have Target Score on, this will show the difference in score between you and your opponent/target score. Example below.
Note that Target Score takes over opponent, so if you have Target Score on and you are matching, you will see your Target Score difference instead of opponent difference.
Normal Scoring and Ex Scoring
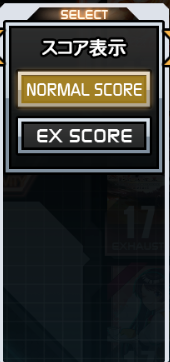
This switches between Normal Scoring and EX-Scoring. Normal Scoring is the score that is graded and used for Volforce. It has a max of 10,000,000 on every chart and is based on Crit, Nears, and errors. EX-Scoring is based on S-Crits, Crits, Nears, and Errors. For more information on EX-Scoring see the Ex-Score page.
Ex-Score will not be available if you have S-Crits disabled.
Even if you use EX-score, your normal score is still calculated and same vice versa (as long as you have s-crits enabled). You can see your EX-Score right under your score on any chart.
If you are just starting, it is recommended to keep Normal Scoring.
Random and Mirror
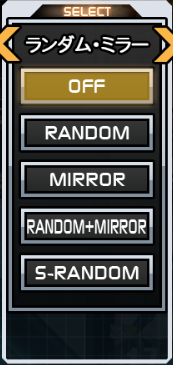
This changes how the chart is.
- Mirror flips the chart. For example, a chart that is normally a 1-2-3-4 staircase is now a 4-3-2-1 staircase.
- Random randomizes the lanes the notes come down. For example, a 1-2-3-4 staircase now can become 3-2-4-1.
- S-Random completely randomizes the notes as well, so any note can be anything
In general, Mirror is the only useable option. Random and S-Ran often make charts have illegal patterns.
Effective/Excessive Clear
These are the clear type options.
- Effective Rate: Start at 0% and work up to above 70% gauge to clear
- Excessive Rate: Start at 100% and survive the whole chart without it dropping to 0 to clear. Errors take more off the gauge and are harder to build up compared to Effective.
- Excessive + ARS: Starts Excessive Rate and if you fail out of Excessive, then go to Effective. Your Effective Gauge is still calculated as you play so you won’t start at 0% if you die in Excessive.
Clear type will affect your Volforce. Excessive is harder so it is worth more Volforce.
Excessive + ARS is not available on light start. This does not matter if you play Konasute.
In general, you should always play with Excessive + ARS if you have the option.
For more information on Gauge, see Gauge Options page.
Volume
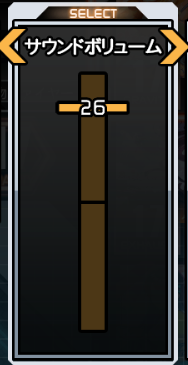
This is Volume. If you are playing on Konasute, this will be the game volume (like in the screenshot). If you are at an arcade, this will be headset volume. If you don’t have a headset plugged in at the arcade this will do nothing.
Challenge Options
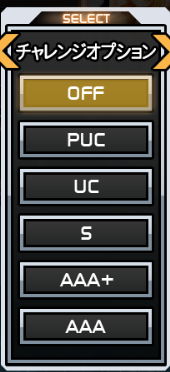
These are the challenge options. During a run, if you fall below the point to get the grade that you have selected you will automatically fail out. For example, if I selected UC and I missed a note, it would auto-fail me out.
Target Score
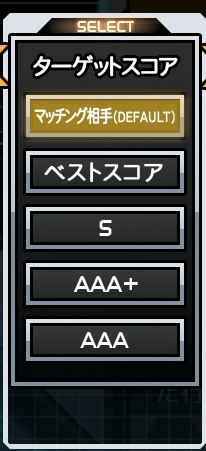
This is your target score. You can set what you would like to target. It will then show the difference of that score while playing so you can know how close or far you are from it.
This will not show if you have Score Difference turned off.
Additional things to note
Most of these settings are completely preference. There are general recommended settings but nothing is concrete. Try out things and see if you like them.
Valkyrie Cabinets have more settings than Konasute and Nemsys cabs. While Konasute has most of them, there are some Valkyrie-exclusive features.